The Complete Guide to Color Correcting: How to Neutralize Dark Circles, Redness, and Dullness Before Foundation
By Charlottetilbury | Published: 2026-05-27
Category: How-to Guides
Master the art of color correcting with expert tips to neutralize dark circles, redness, and dullness before foundation. Achieve a flawless, even complexion.
Ever wondered why no matter how much foundation you apply, you still see traces of dark circles, redness, or uneven skin tone? The secret to a truly flawless makeup base lies in color correcting—a technique used by professional makeup artists to neutralize discoloration before applying foundation. This comprehensive guide will teach you everything you need to know about how to color correct for your skin concerns, from targeting dark circles to calming redness. Get ready to transform your makeup routine!
What Is Color Correcting and Why Does It Work?
Color correcting is based on the color wheel theory: opposite colors neutralize each other. For instance, green cancels out red, and peach or orange neutralizes blue or purple tones (common under-eye dark circles). When applied correctly, a color corrector creates a neutral canvas, allowing your foundation to appear more even and natural. It's a game-changer for anyone struggling with persistent discoloration.
Choosing the Right Color Corrector for Your Concern
To master color correcting, you need to match the corrector shade to your specific issue. Here’s a quick breakdown:
| Concern | Corrector Color | Best For |
|---|---|---|
| Dark circles (blue/purple) | Peach or Salmon | Fair to light skin tones |
| Dark circles (deep blue/purple) | Orange or Red | Medium to deep skin tones |
| Redness (acne, rosacea, broken capillaries) | Green | All skin tones |
| Dullness or sallow skin | Lavender or Purple | Fair to light skin tones |
| Hyperpigmentation or dark spots | Yellow | All skin tones |
Pro Tip for Dark Circles
For stubborn dark circles, a peach or salmon corrector works wonders. Gently pat it under the eyes with your ring finger—never rub. Then, apply a concealer on top to blend seamlessly. For a complete under-eye solution, consider the IMMEDIATE SKIN REVIVAL EYE & FACE DUO - SKINCARE KIT, which hydrates the delicate eye area while you prep for makeup.
How to Color Correct for Redness
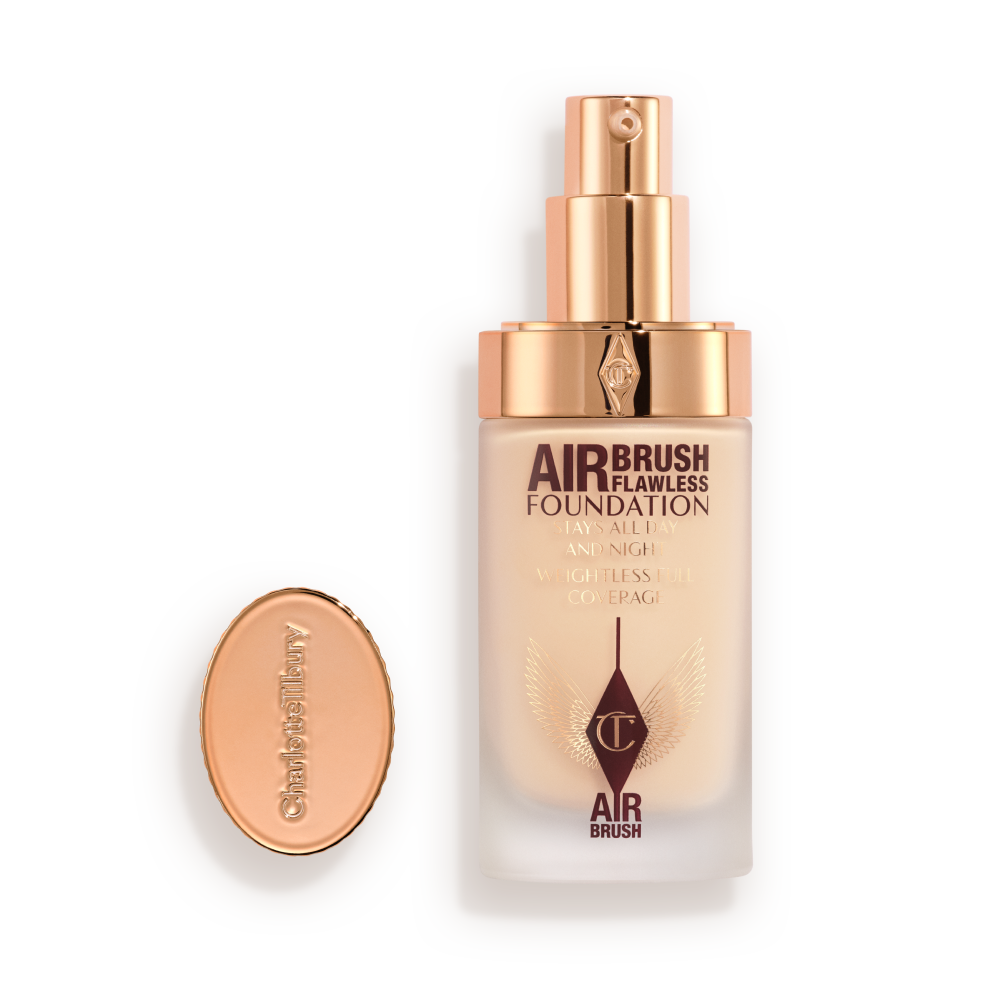
Redness—from acne, rosacea, or general sensitivity—is one of the most common concerns. A green corrector is your best friend here. Apply a thin layer to red areas (cheeks, chin, nose) and let it dry for 30 seconds before blending. Follow with a lightweight foundation or tinted moisturizer. The key is to use a light hand; too much green can make skin look ashy. For a radiant, even finish, pair your routine with the MULTI-MIRACLE GLOW - 100 ML, a multi-purpose moisturizer that boosts luminosity and preps skin perfectly for color correcting.
Step-by-Step Color Correcting Routine
Ready to try it yourself? Follow these steps for a flawless makeup base:
- Prep your skin: Cleanse, moisturize, and apply primer. Hydrated skin allows correctors to blend better.
- Apply color corrector: Use a tiny amount on the discolored area. For under-eye dark circles, apply in an inverted triangle shape. For redness, dab directly onto spots or redness.
- Blend gently: Use a damp beauty sponge or your fingertip. Do not rub—pat the product into the skin.
- Apply concealer: Use a concealer that matches your skin tone over the corrector. This step seals the correction and adds coverage.
- Foundation time: Apply your favorite foundation with a brush or sponge. You’ll notice a dramatic reduction in discoloration.
- Set with powder: Lightly dust a translucent powder to lock everything in place.
Common Color Correcting Mistakes to Avoid
Even pros make missteps. Here are three common errors to avoid when color correcting:
- Using too much product: A little goes a long way. Over-application creates a thick, cakey layer that foundation can’t hide.
- Skipping the concealer step: Never apply foundation directly over a color corrector without a concealer in between. This ensures full neutralization.
- Forgetting to blend edges: Harsh lines will show through foundation. Always blend the edges of the corrector into your skin.
Color Correcting for Different Skin Tones
The right shade of corrector depends on your skin tone. Here’s a quick guide:
| Skin Tone | Dark Circles Corrector | Redness Corrector |
|---|---|---|
| Fair | Peach or light pink | Light green |
| Medium | Salmon or light orange | Medium green |
| Deep | Orange or red-orange | Deep green |
Can You Color Correct with Everyday Products?
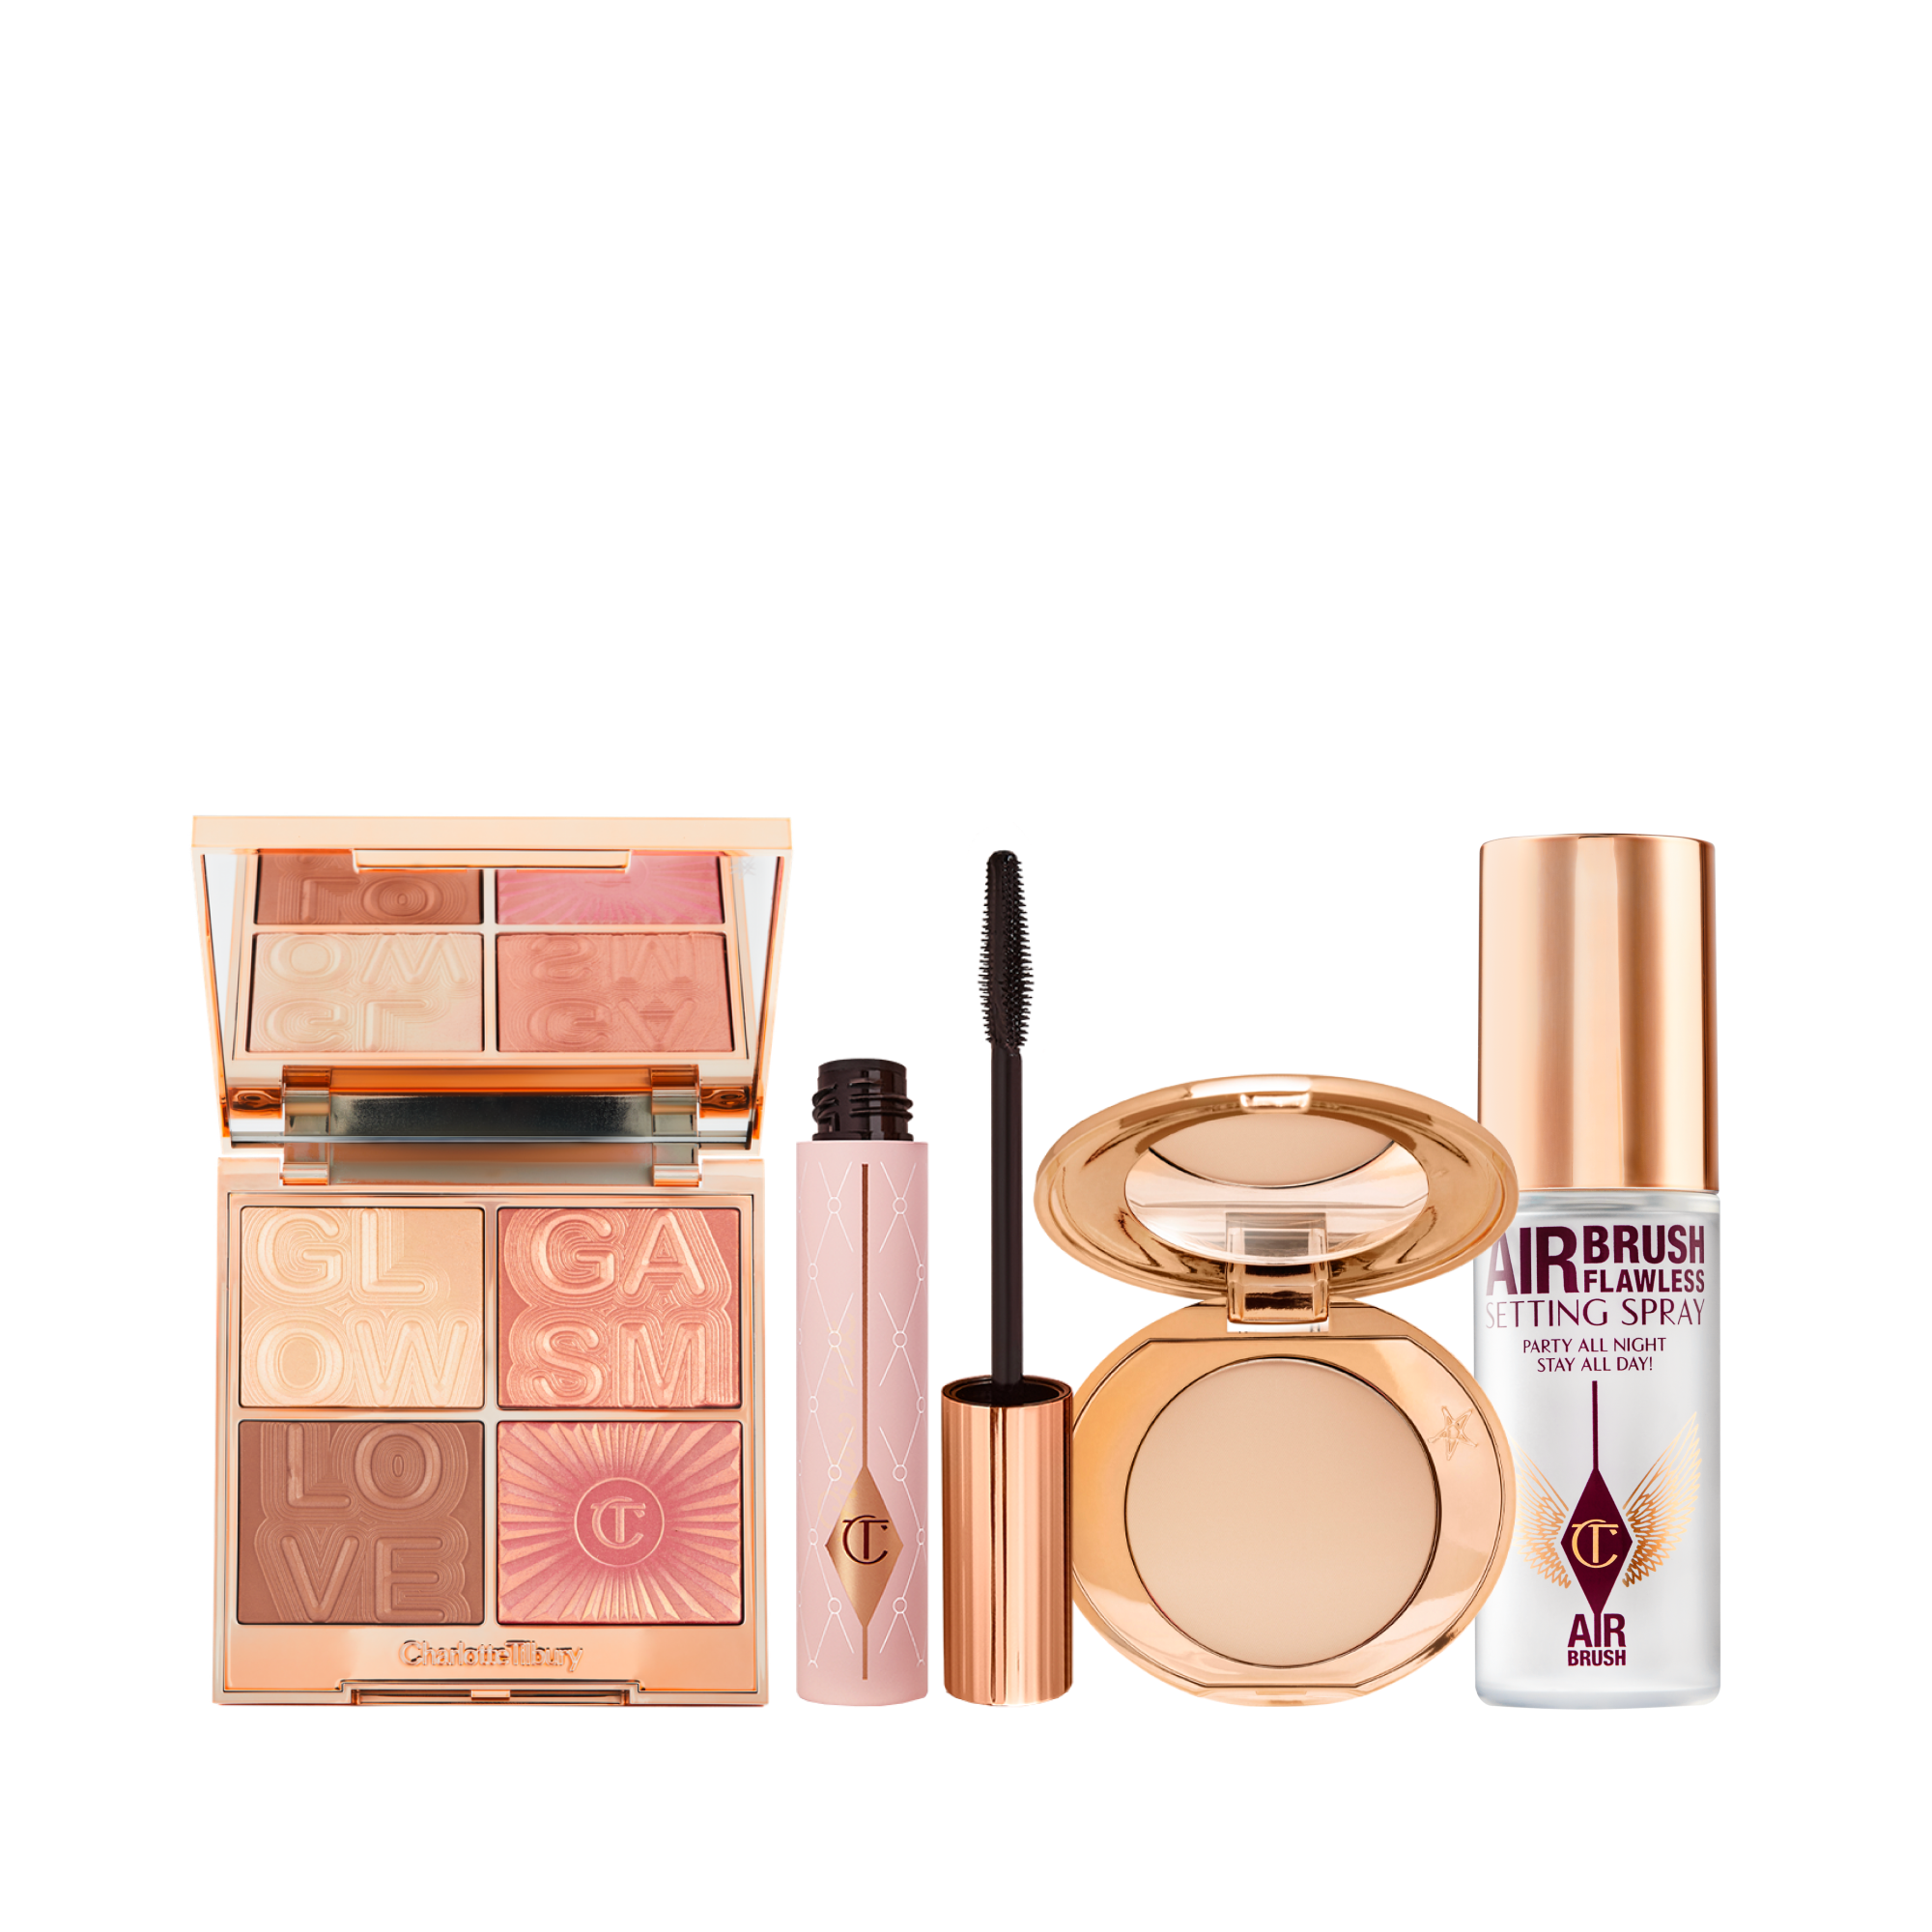
Absolutely! Many color correcting products are available in the form of sticks, creams, and liquids. For a quick fix, you can even use a peachy lipstick (for under-eye dark circles) or a green-tinted primer (for overall redness). However, dedicated correctors often have better texture and staying power. For a complete sculpted look after correcting, try the FILMSTAR KILLER CHEEKBONES - LIGHT TO MEDIUM palette, which includes a bronzer and highlighter to enhance your bone structure once your base is flawless.
Conclusion: Unlock a Flawless Base with Color Correcting
Color correcting is a simple yet powerful technique that can elevate your makeup game. By understanding the color wheel and choosing the right shades for dark circles and redness, you can achieve a smooth, even complexion that foundation alone can’t deliver. Whether you’re a beginner or a seasoned pro, these concealer tips and step-by-step methods will help you neutralize discoloration and create a flawless makeup base every time.
Ready to Perfect Your Base?
If you want to take your color correcting routine to the next level, explore the IMMEDIATE SKIN REVIVAL EYE & FACE DUO - SKINCARE KIT—it’s the perfect prep step for hydrating and brightening your skin before you correct and conceal. Start your journey to a flawless complexion today!