The Art of Layering Highlighter: How to Achieve a Glass Skin Glow
By Charlottetilbury | Published: 2026-05-23
Category: How-to Guides
Master the technique of layering cream and powder highlighter to achieve a luminous, glass skin glow. Expert tips and product recommendations included.
Highlighter has become a non-negotiable step in modern makeup routines, but the true secret to a radiant, almost reflective glow lies in the art of layering. Achieving that coveted glass skin effect isn't about piling on shimmer—it's about strategically building dimension and light reflection from within. Whether you're a beauty enthusiast or a professional artist, understanding how to layer cream and powder highlighters can transform your complexion from flat to phenomenal.
In this comprehensive guide, we'll walk you through the science behind highlighter layering, the best products for every step, and expert tips to ensure your glow lasts all day. By the end, you'll be ready to create a luminous finish that looks natural yet striking.
Understanding the Glass Skin Glow
The term "glass skin" originated in Korean beauty and refers to skin that appears so smooth, hydrated, and luminous that it resembles clear glass. It's not about heavy glitter or obvious shimmer—it's about a subtle, diffused light that comes from within. Highlighter layering is the key technique to mimic this effect, as it builds depth and radiance without looking overdone.
Layering highlighter involves applying different textures (cream, liquid, and powder) in strategic areas to create a multi-dimensional glow. Cream and liquid formulas provide a dewy, skin-like sheen, while powders set the look and add a soft-focus finish. When done correctly, this technique makes your skin look naturally lit from within, even in harsh lighting.
Why Layering Matters
Using a single highlighter can look flat or overly shiny. Layering allows you to control intensity and placement. A cream highlighter melts into the skin for a base glow, while a powder highlighter on top adds a pop of light without disturbing the base. This method also improves longevity, as the cream anchors the powder, ensuring your radiance lasts through the day.
Step-by-Step Guide to Layering Highlighter for Glass Skin
Step 1: Prep Your Skin for Maximum Radiance
Glass skin starts with a hydrated, smooth canvas. Begin with a gentle cleanser like the CHARLOTTE'S MAGIC HYDRATION REVIVAL CLEANSER - 120 ML to remove impurities without stripping moisture. Follow with a hydrating toner and a lightweight moisturizer to plump the skin. This step ensures your highlighter glides on seamlessly and doesn't cling to dry patches.
For an extra boost, use a face mist or a hydrating serum with ceramides. The goal is to create a smooth, bouncy surface that reflects light evenly. Avoid heavy, oily moisturizers that can break down makeup later.
Step 2: Apply a Cream Highlighter as Your Base
Choose a cream or liquid highlighter with a fine, luminous finish—not chunky glitter. Apply it to the high points of your face: the tops of your cheekbones, the bridge of your nose, your cupid's bow, and the brow bone. Use your ring finger or a damp beauty sponge to tap the product gently into the skin. This creates a natural, dewy base that looks like your skin is glowing from within.
For a truly glass-like effect, focus on the cheekbones and the center of the face. Avoid applying too close to the T-zone if you have oily skin, as it can emphasize shine.
Step 3: Set with a Powder Highlighter
Once your cream highlighter is blended, wait a minute for it to dry down slightly. Then, take a fan brush or a small fluffy brush and lightly dust a powder highlighter over the same areas. The key is to use a light hand—you're not adding more product, you're setting the glow and adding a soft-focus finish. The powder should be finely milled and have a subtle shimmer, not glitter.
This two-step process ensures your highlighter stays put without fading or creasing. The powder also helps to diffuse light, creating that ethereal, glass-like sheen.
Step 4: Blend Edges for a Seamless Look
After layering, take a clean, dry beauty sponge or a clean brush and blend the edges of the highlighter into your surrounding skin. This prevents harsh lines and ensures the glow looks natural. You can also use a setting spray to meld the layers together and add a final touch of dewiness.
Best Products for Highlighter Layering
Not all highlighters are created equal for layering. You need formulas that are buildable, blendable, and long-lasting. Here are two standout products from Charlotte Tilbury that excel in this technique.
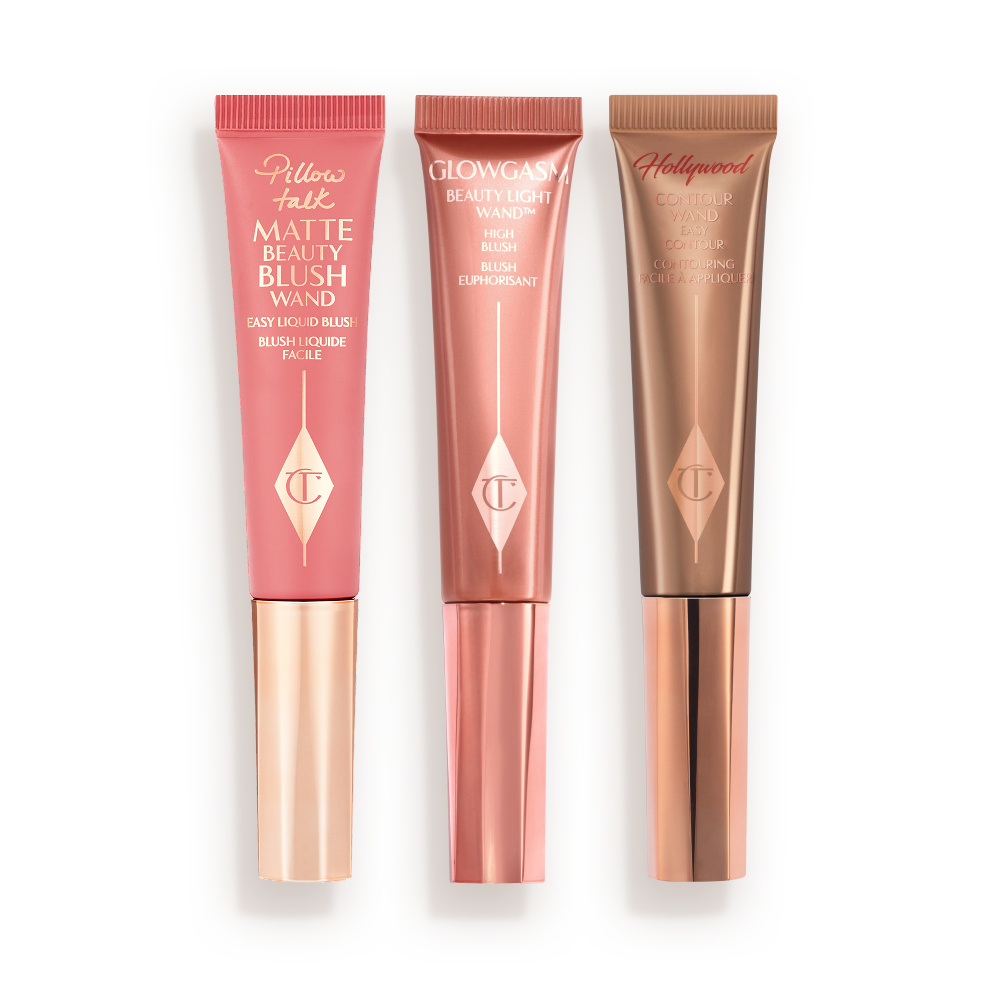
For the cream layer, the iconic CHARLOTTE'S ICONIC BEAUTY WAND TRIO - OFFER ENDED (while this specific offer has ended, the Beauty Light Wands in general are perfect for this step) offers a liquid formula that melts into the skin for a natural, dewy glow. Use the wand to dot the highlighter onto your cheekbones, then blend with your fingertips or a sponge. The lightweight texture ensures it layers beautifully without looking heavy.
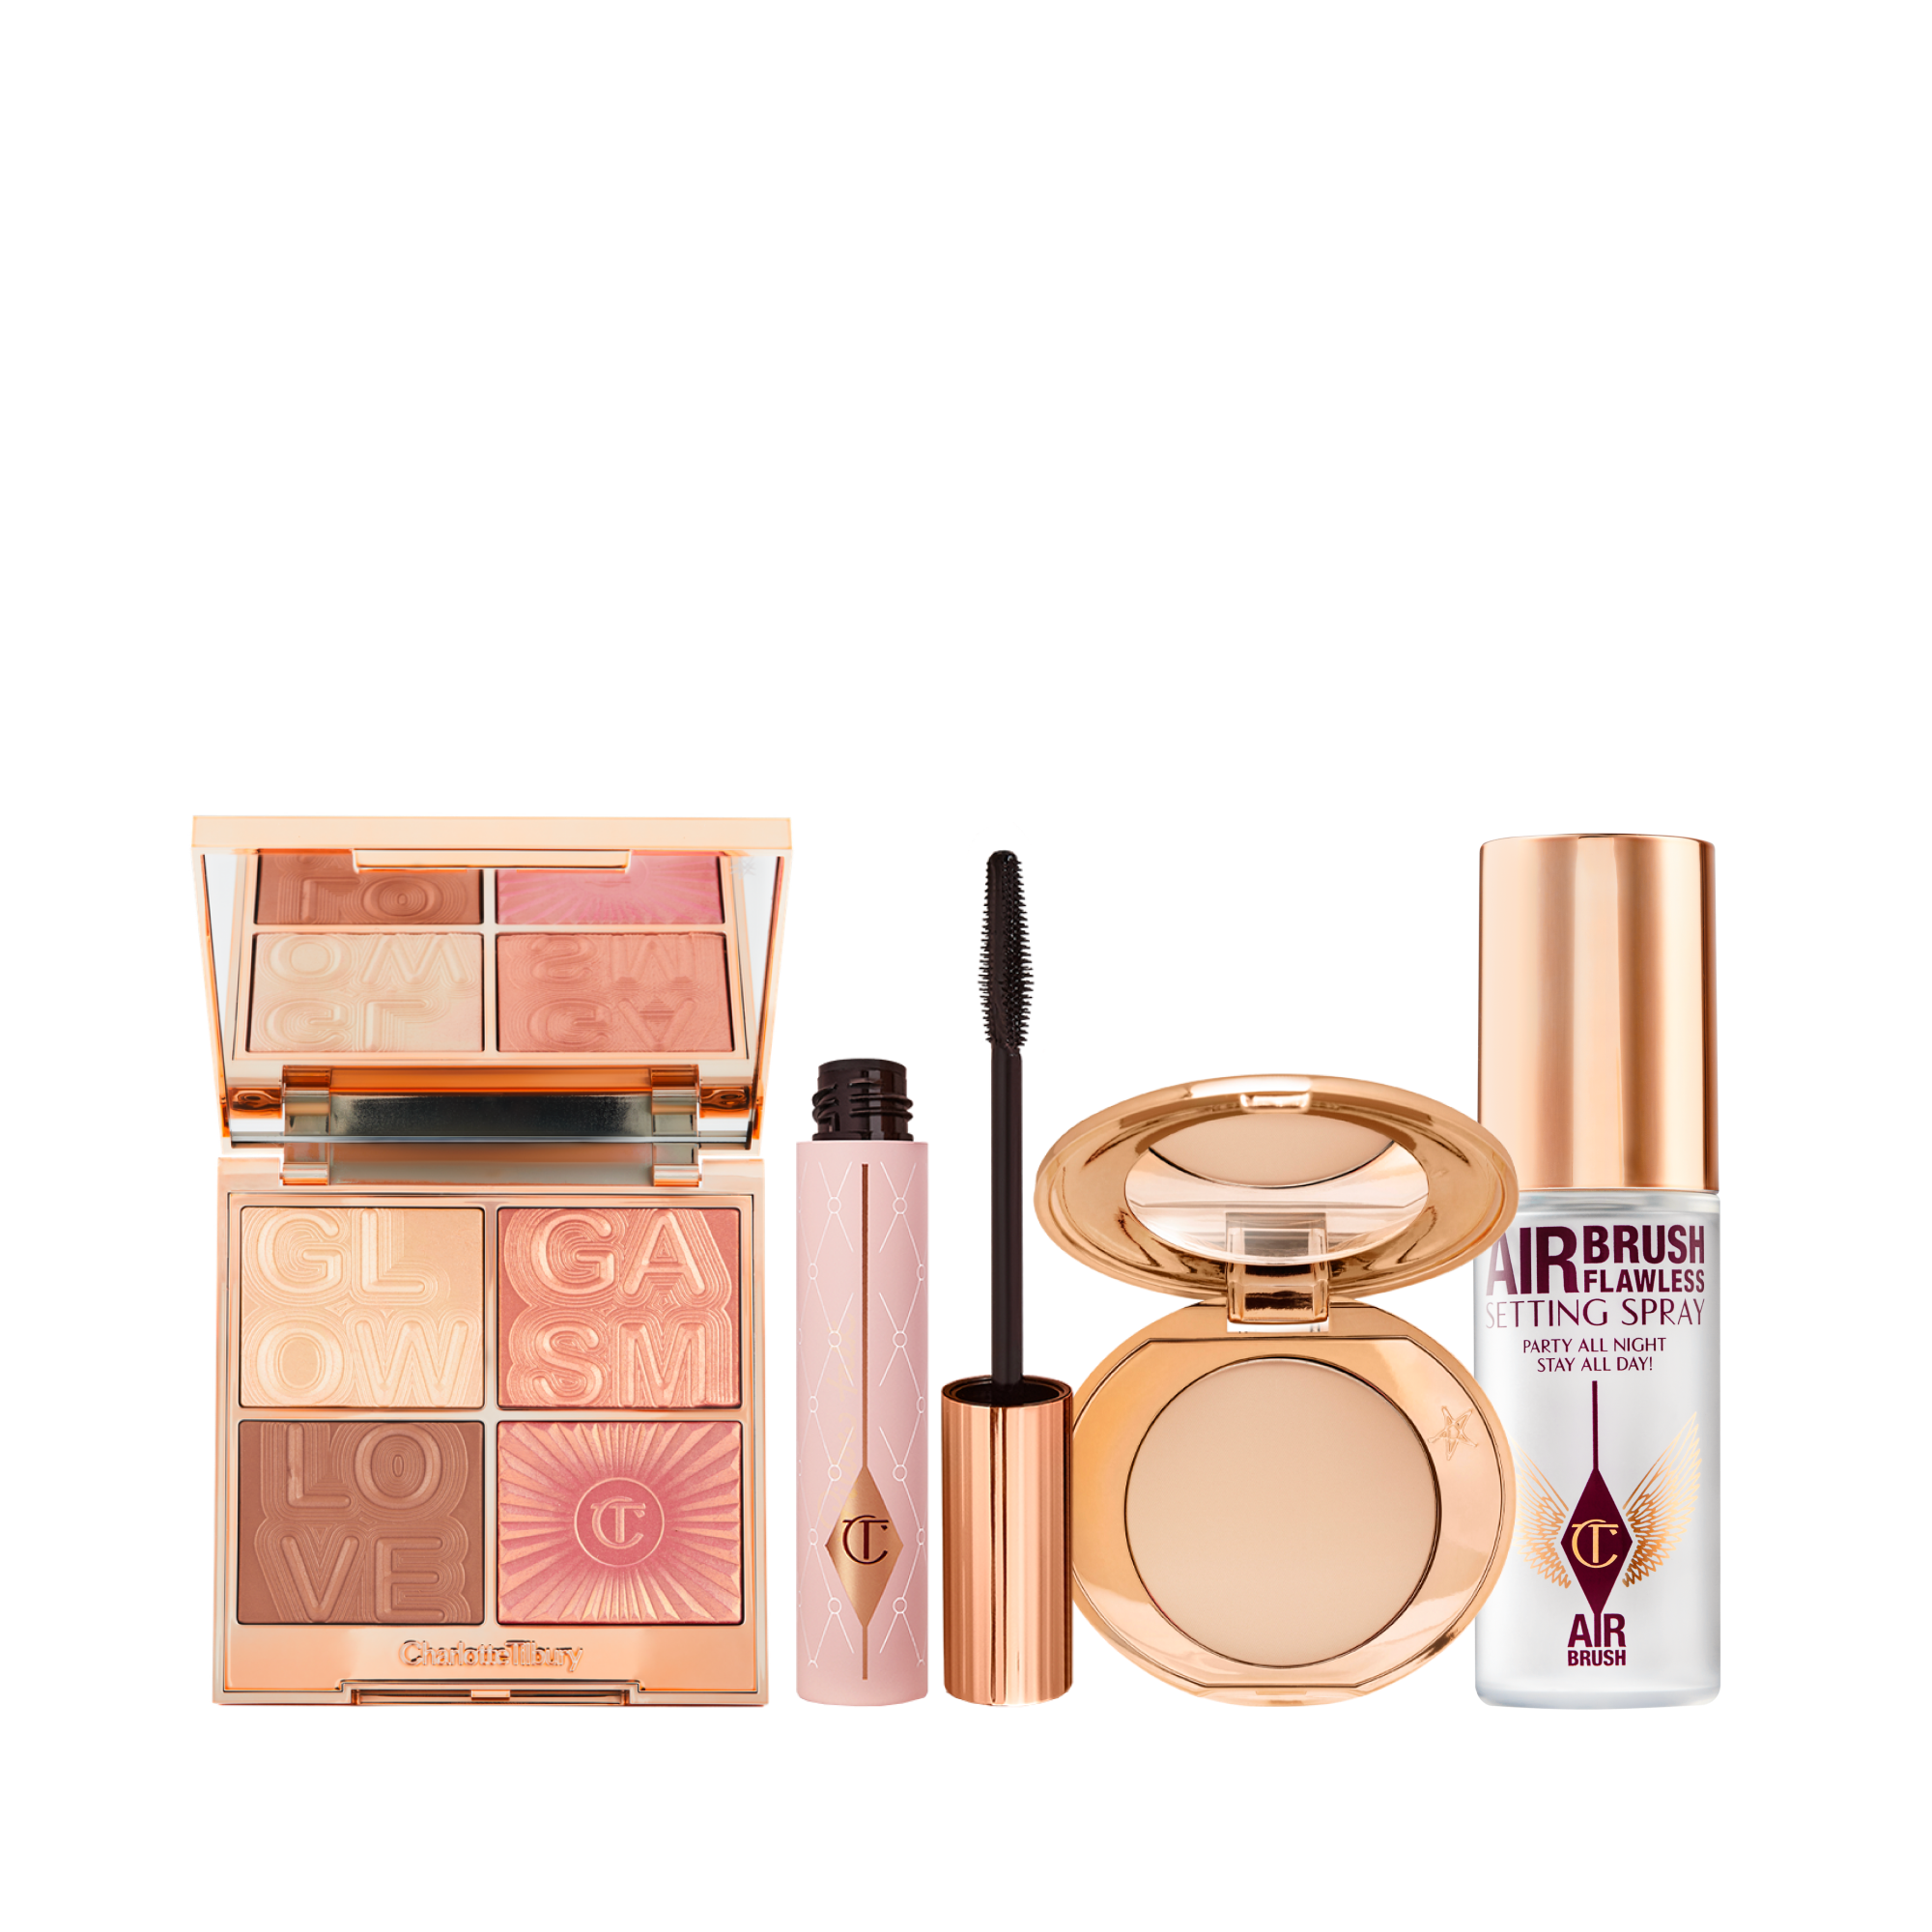
For the powder layer, the AIRBRUSH BRIGHTENING FLAWLESS FINISH - TAN - DEEP TRAVEL is an excellent choice. This finely milled powder imparts a soft, airbrushed radiance without settling into fine lines. The travel size is perfect for touch-ups on the go, and the shade Tan-Deep adds a warm, sun-kissed glow that works beautifully on medium to deep skin tones. Apply it with a light hand over your cream highlighter for a luminous, glass-like finish.
Expert Tips for a Flawless Glass Skin Glow
- Less is more: Start with a small amount of cream highlighter and build up gradually. You can always add more, but it's hard to remove excess without disturbing your base.
- Use the right tools: Fingertips work best for cream highlighters because the warmth helps the product melt into the skin. For powder, use a fluffy brush to avoid a heavy application.
- Match your skin type: If you have oily skin, focus on the outer edges of your cheekbones and avoid the T-zone. Dry skin types can apply highlighter more liberally for a glass-like effect.
- Layer strategically: Reserve the most intense highlight for the cheekbones and the bridge of the nose. A subtler glow on the brow bone and cupid's bow prevents the face from looking overly shiny.
- Set with a mist: A hydrating setting spray can help meld the cream and powder layers together, creating a seamless, second-skin finish.
Common Mistakes to Avoid
Even with the best products, mistakes can happen. Here's what to watch out for:
- Applying too much product: A heavy hand leads to a greasy or glittery look, not a glass skin glow. Build up slowly.
- Skipping skin prep: Dry or textured skin will make highlighter look patchy. Always hydrate and prime your skin first.
- Using the wrong shade: Highlighter should be one to two shades lighter than your skin tone. Avoid shades that are too white or too golden, as they can look unnatural.
- Neglecting blending: Harsh lines ruin the illusion of natural radiance. Take time to blend edges into your foundation or bronzer.
Why This Technique Works for All Skin Types
Highlighter layering is universally flattering because it mimics the way light naturally interacts with healthy skin. Cream base provides a hydrated, youthful sheen, while powder sets the look and adds a soft-focus effect. For oily skin, the powder helps control excess shine without diminishing the glow. For dry skin, the cream base adds much-needed moisture and luminosity. The result is a finish that looks custom-tailored to your complexion.
Frequently Asked Questions
Can I use only cream highlighter for glass skin?
Yes, but the effect may not last as long. Cream highlighters alone can fade or slip throughout the day, especially on oily skin. Layering with powder ensures longevity and adds a more dimensional shine.
How do I choose between liquid and powder highlighter?
Liquid highlighters are best for a dewy, skin-like finish and work well as a base. Powders are ideal for setting and adding a soft, luminous sheen. For glass skin, use both in sequence.
Can I layer highlighter over matte foundation?
Absolutely. In fact, layering highlighter over matte foundation creates a beautiful contrast that enhances the glass skin effect. Just ensure your foundation is fully set before applying cream highlighter to avoid patchiness.
What if I have textured skin or acne scars?
Stick to cream or liquid highlighters, as powder can settle into texture. Apply with a tapping motion (not sweeping) to avoid disturbing the skin's surface. Focus on the high points of your face where light naturally hits.
Conclusion
Mastering the art of highlighter layering is the ultimate skill for achieving a glass skin glow. By combining a cream or liquid base with a finely milled powder, you create a luminous, multi-dimensional effect that looks natural and lasts all day. The key is to prep your skin properly, choose the right products, and apply with a light hand.
Ready to elevate your glow game? Explore the AIRBRUSH BRIGHTENING FLAWLESS FINISH - TAN - DEEP TRAVEL to add a soft-focus radiance to your layered look. Whether you're a beginner or a pro, this technique will transform your makeup routine and leave you with the radiant, glass-like complexion you've always wanted.